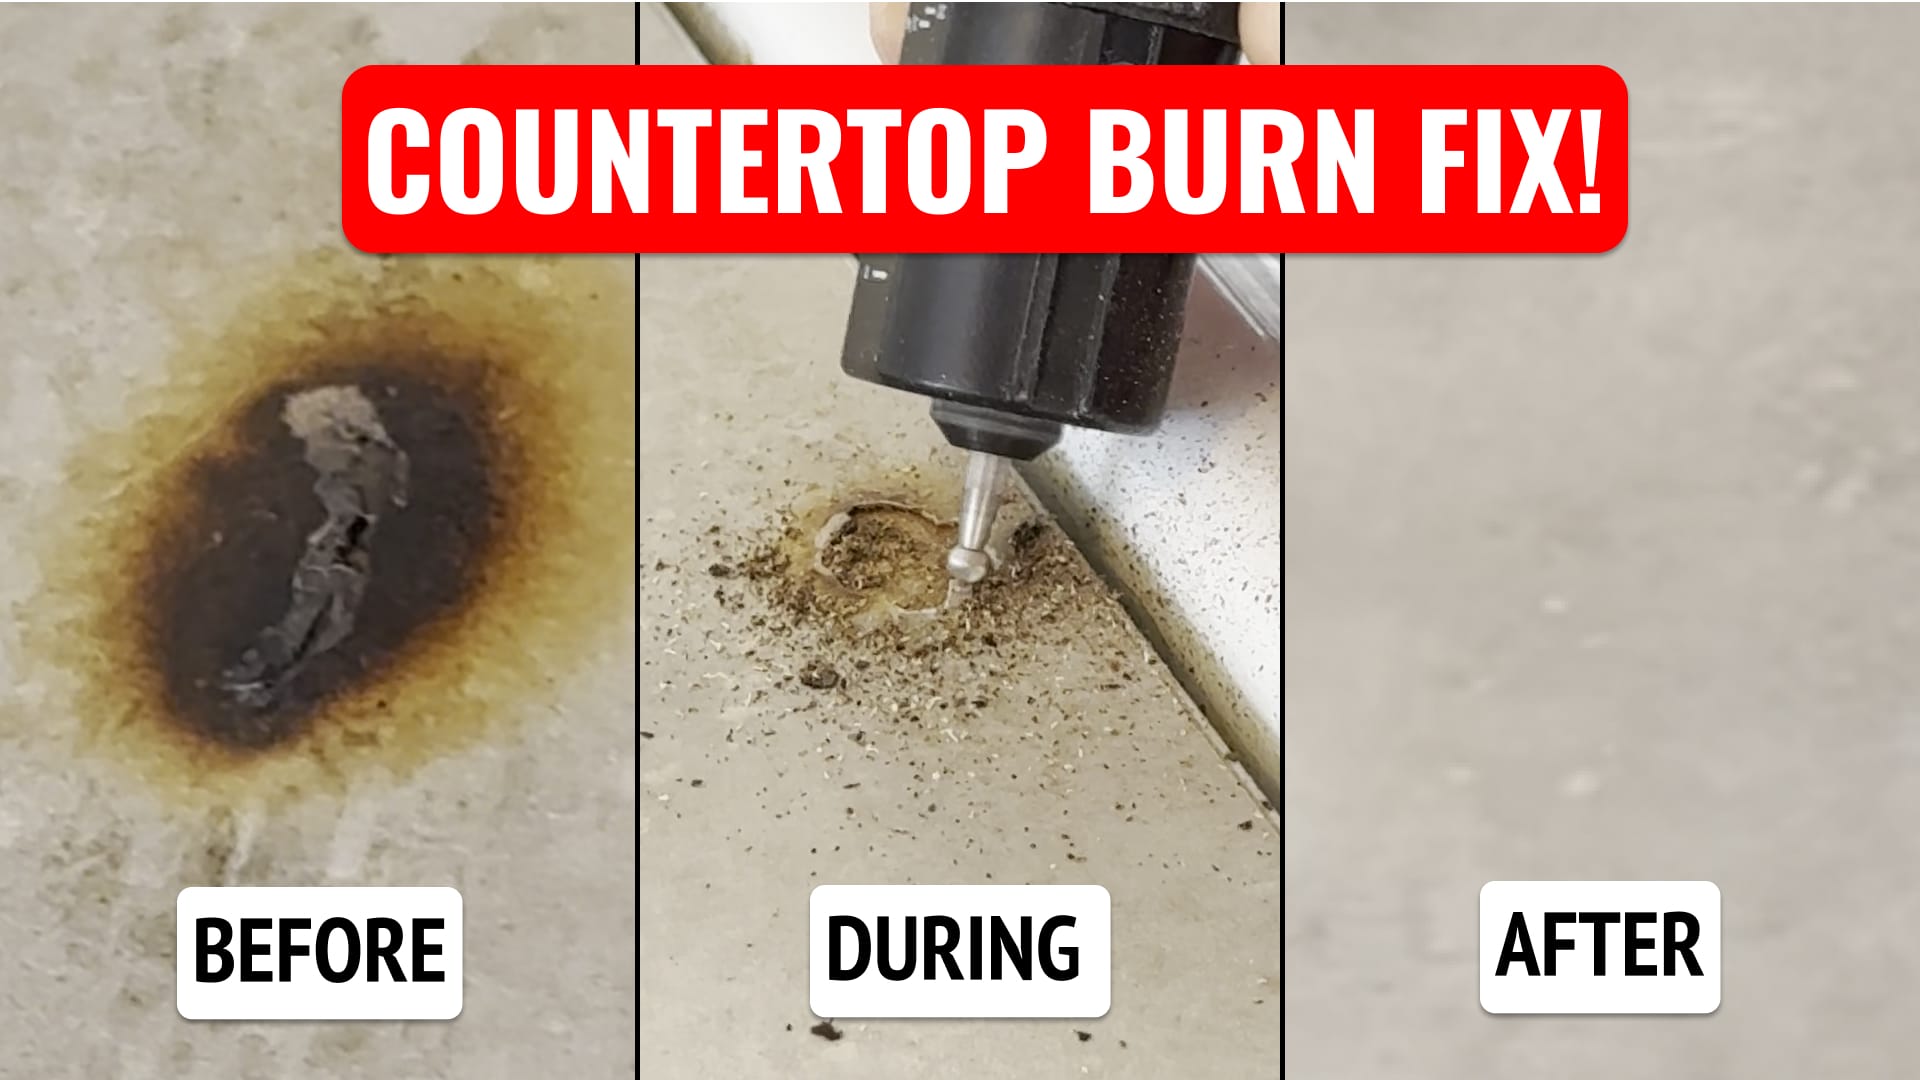
How I Fixed a Burned Spot on My Kitchen Countertop (DIY Guide)
I accidentally burned my kitchen countertop with a flaming oven mitt — but instead of replacing the whole thing, I fixed it myself using a Dremel and a wax repair kit. Here’s how I did it step by step.

Have you ever accidentally damaged your kitchen counter with something hot and ended up with a nasty burn mark?
In my case it was a burning oven mitt that scorched the surface before I noticed.
Instead of replacing the entire countertop, I decided to fix it myself.
In this post, I’ll walk you through how I repaired a burned countertop using a Dremel tool and a wax repair kit from Amazon.
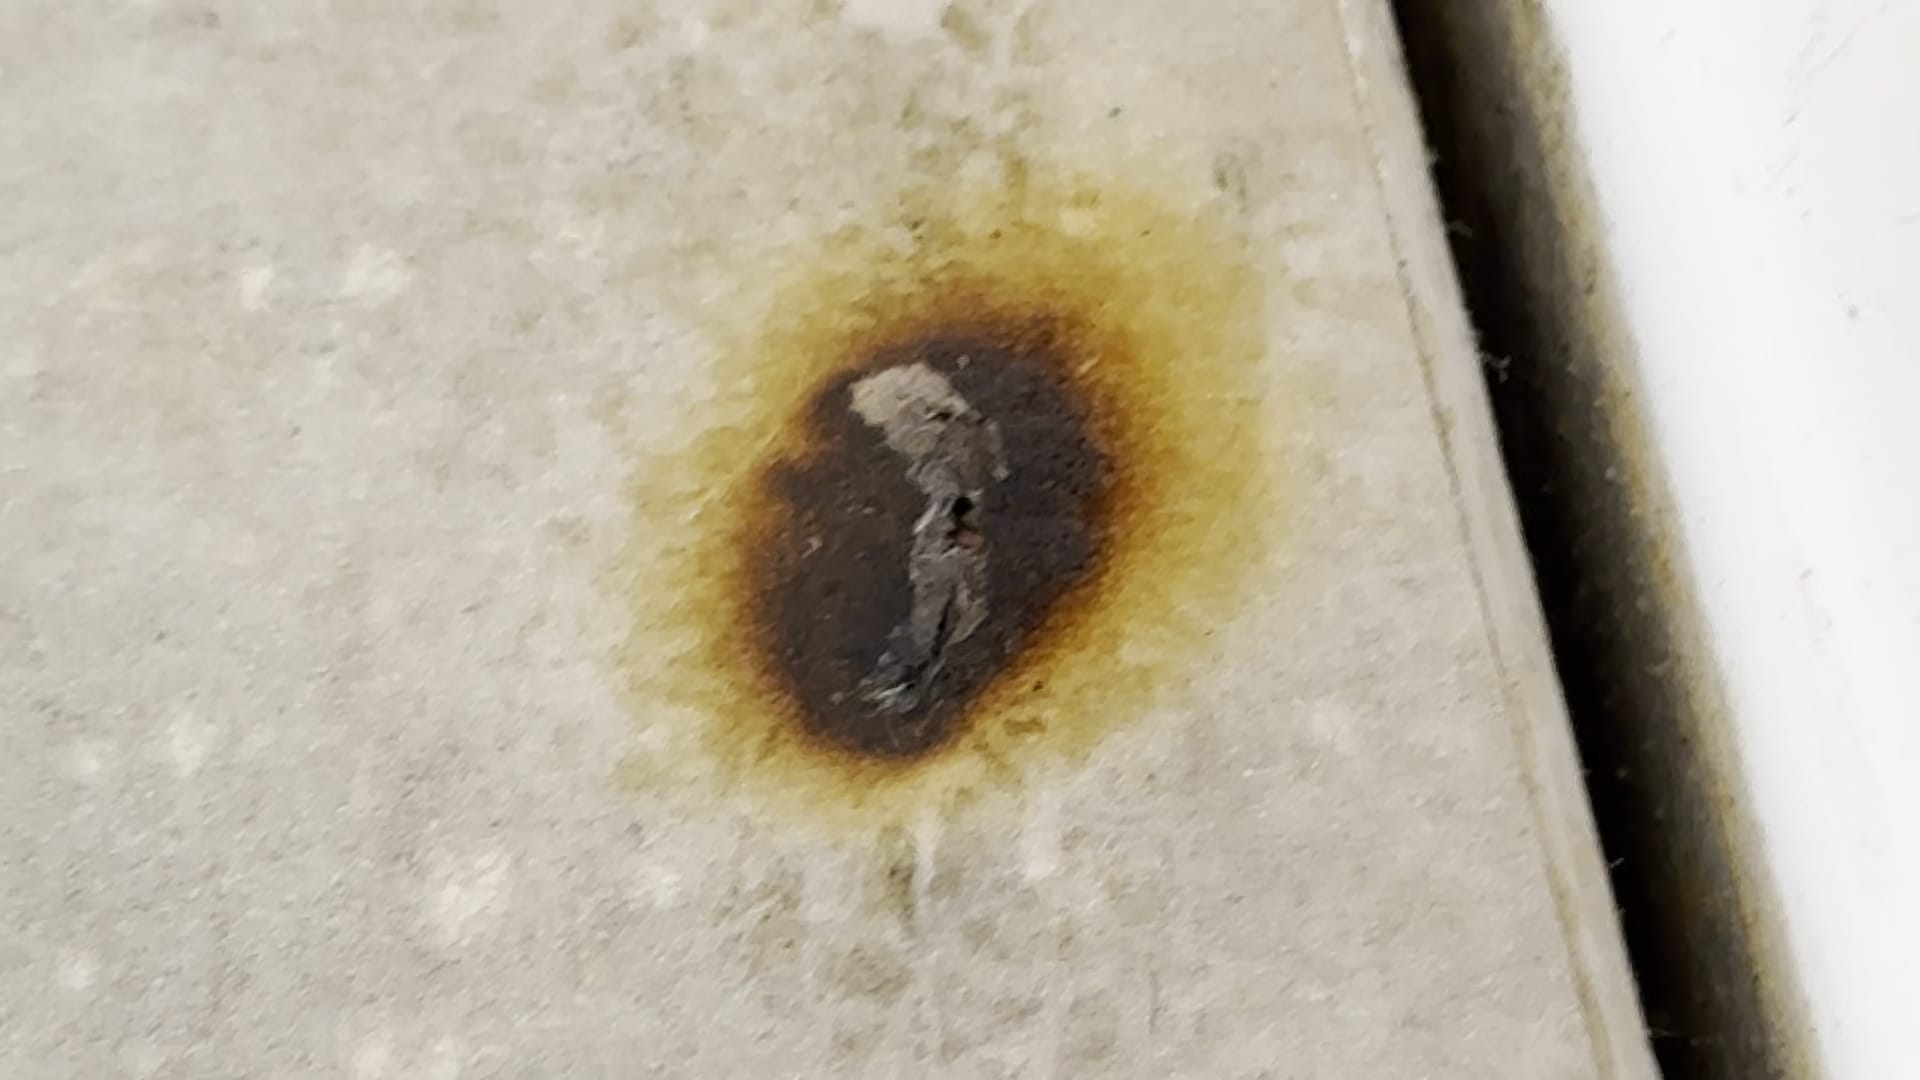
🧱 Step 1: Assessing the Damage
The burned area was dark and rough — it had completely scorched the surface. Before doing anything else, I made sure to check how deep the burn went. Fortunately, it was only surface level, so I knew it was fixable.
🛠 Step 2: Removing the Burned Material
Using my Dremel rotary tool with a small grinding bit, I carefully removed the charred material. The goal here was to get rid of all the blackened residue while preserving as much of the surrounding surface as possible.
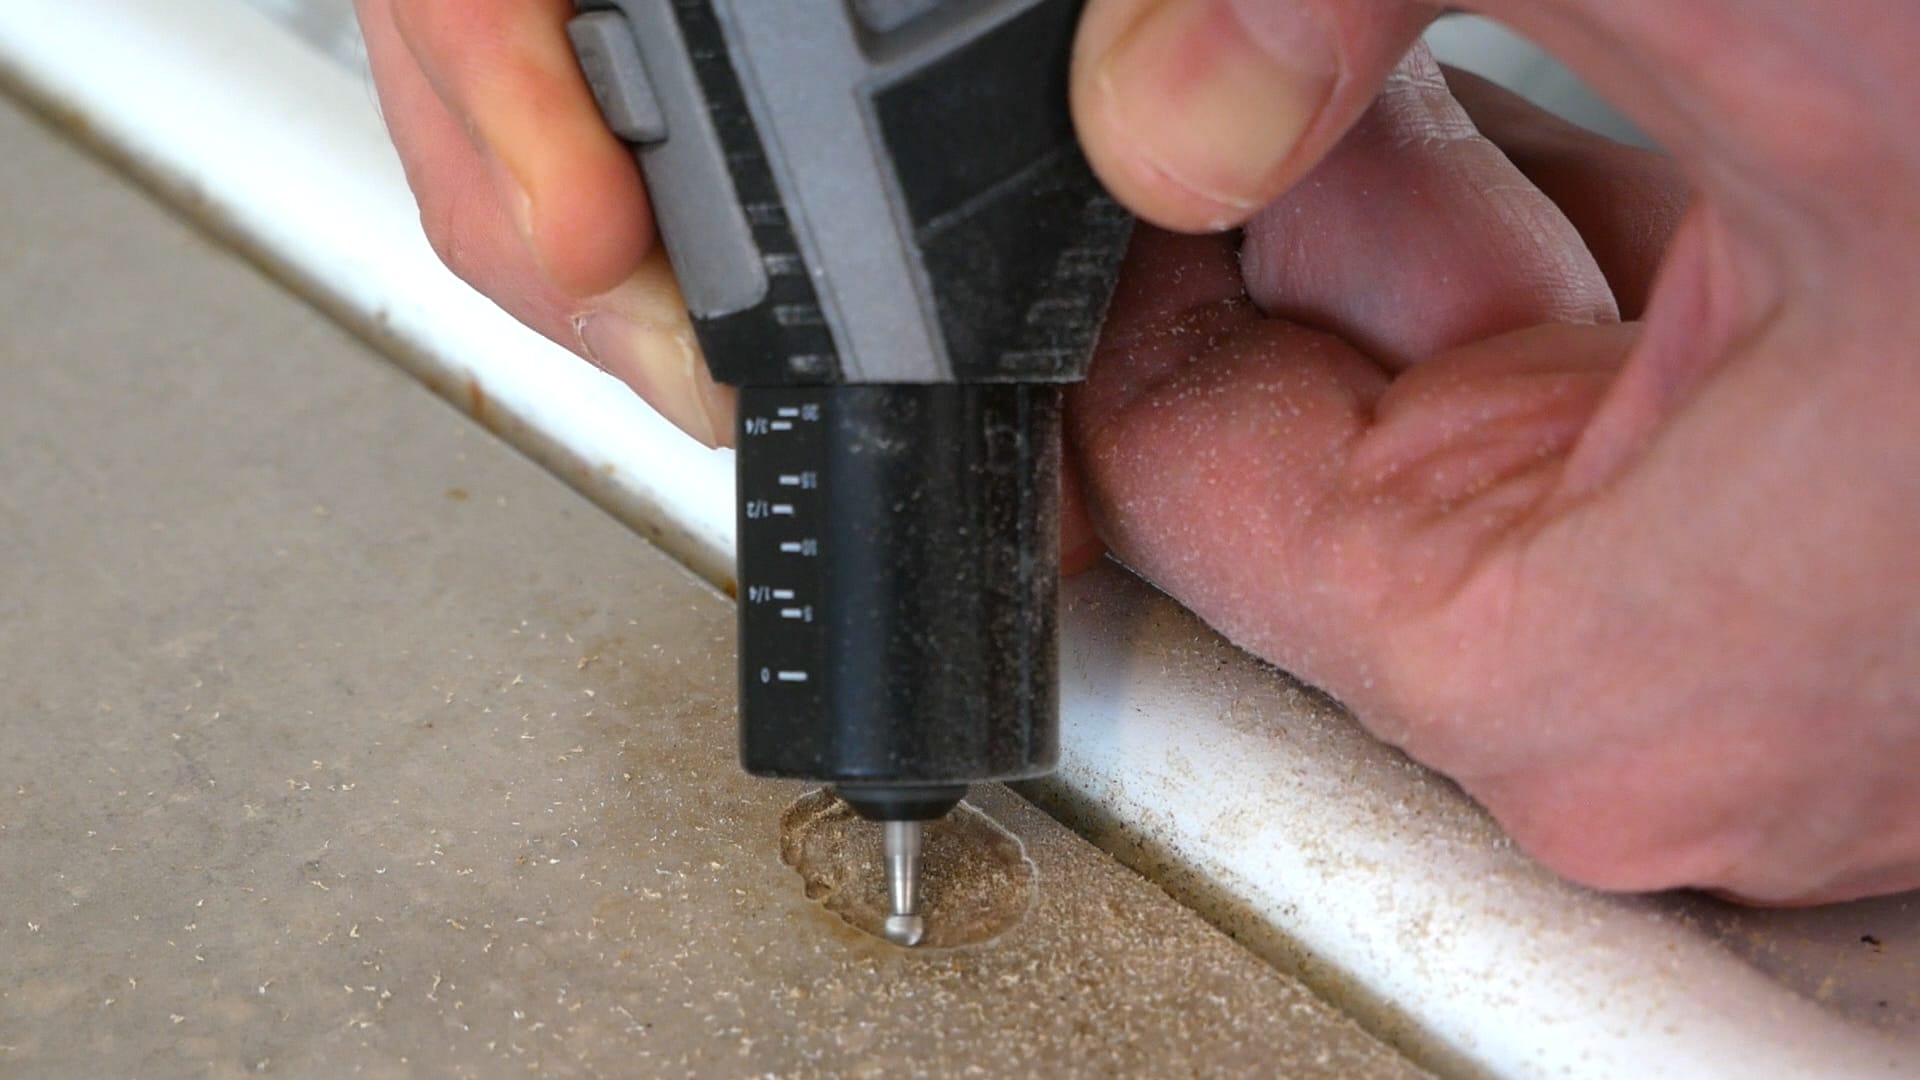
Tip: Go slow and use a light touch — you don’t want to dig too deep.
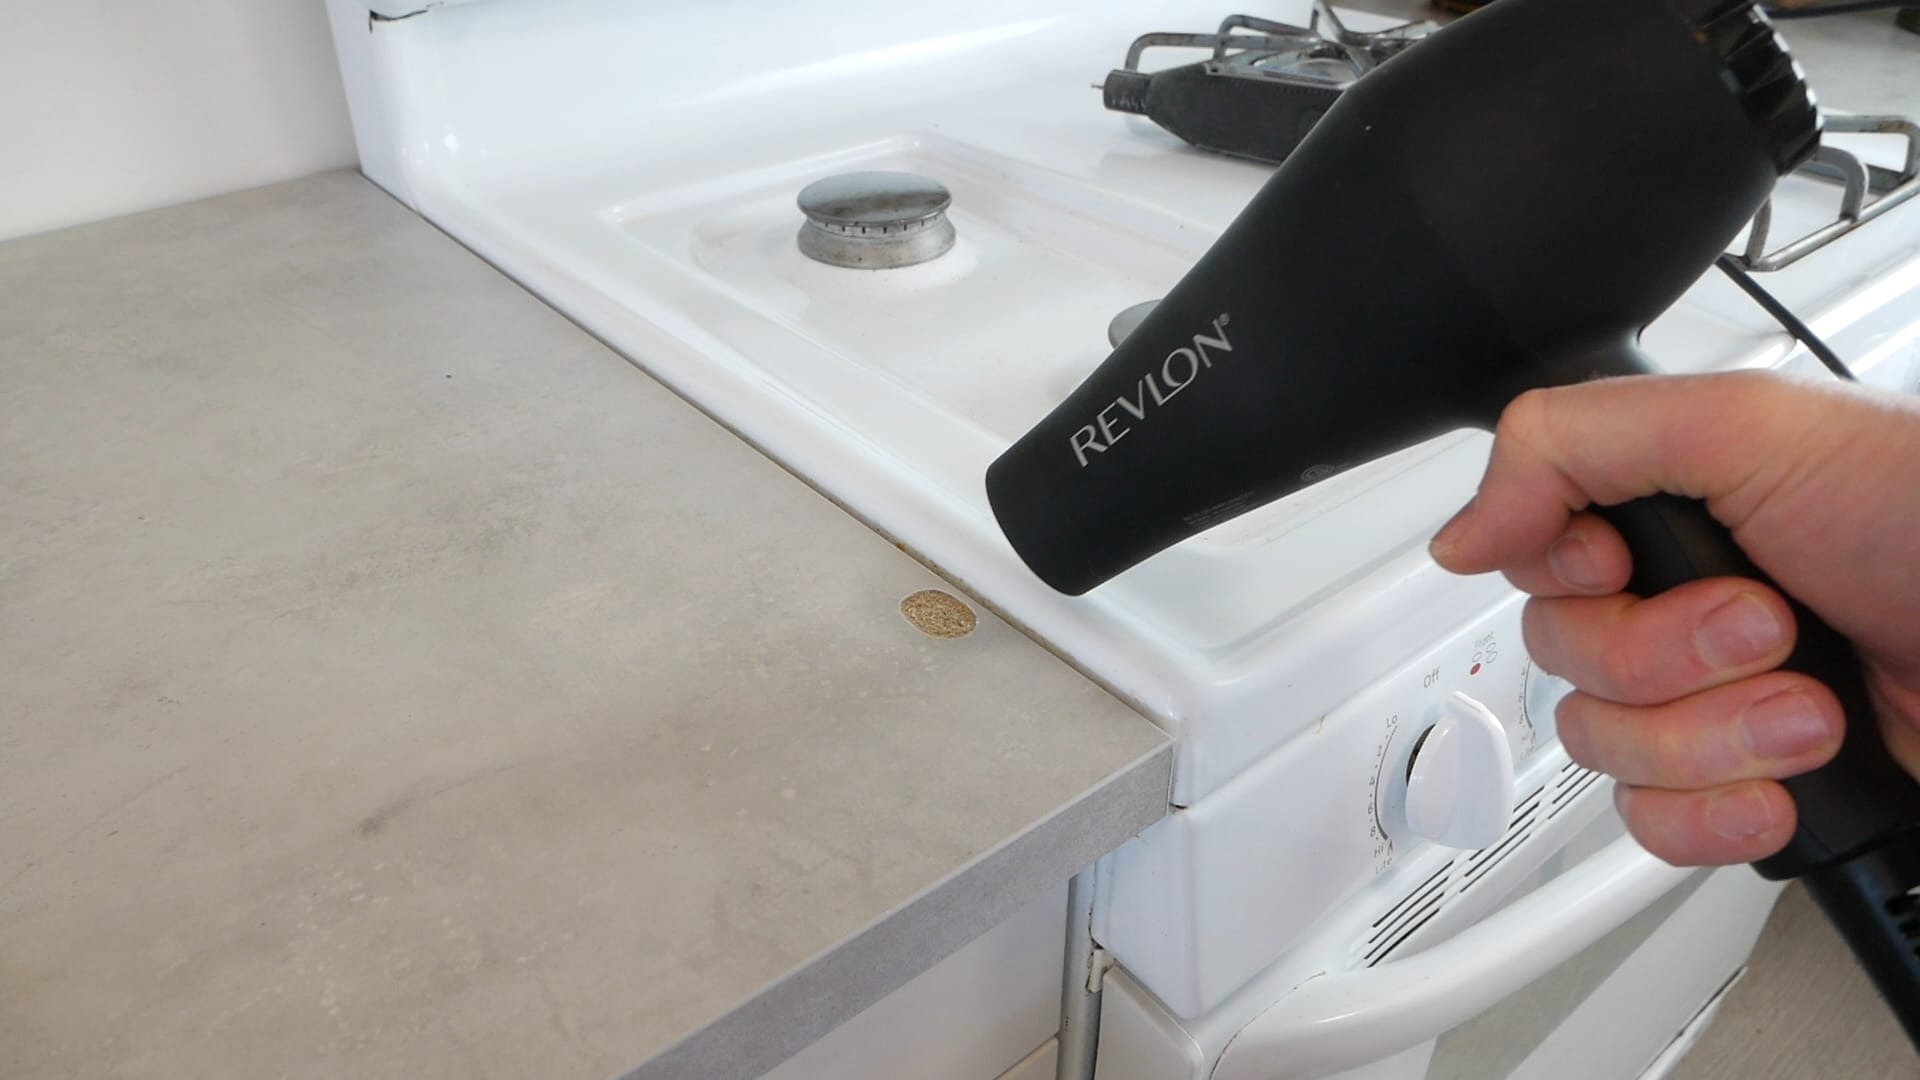
🧼 Step 3: Cleaning and Drying
Once the burned material was gone, I vacuumed the dust and used a heating fan to make sure the area was completely dry and free of debris. This step is important to ensure the repair material bonds properly.
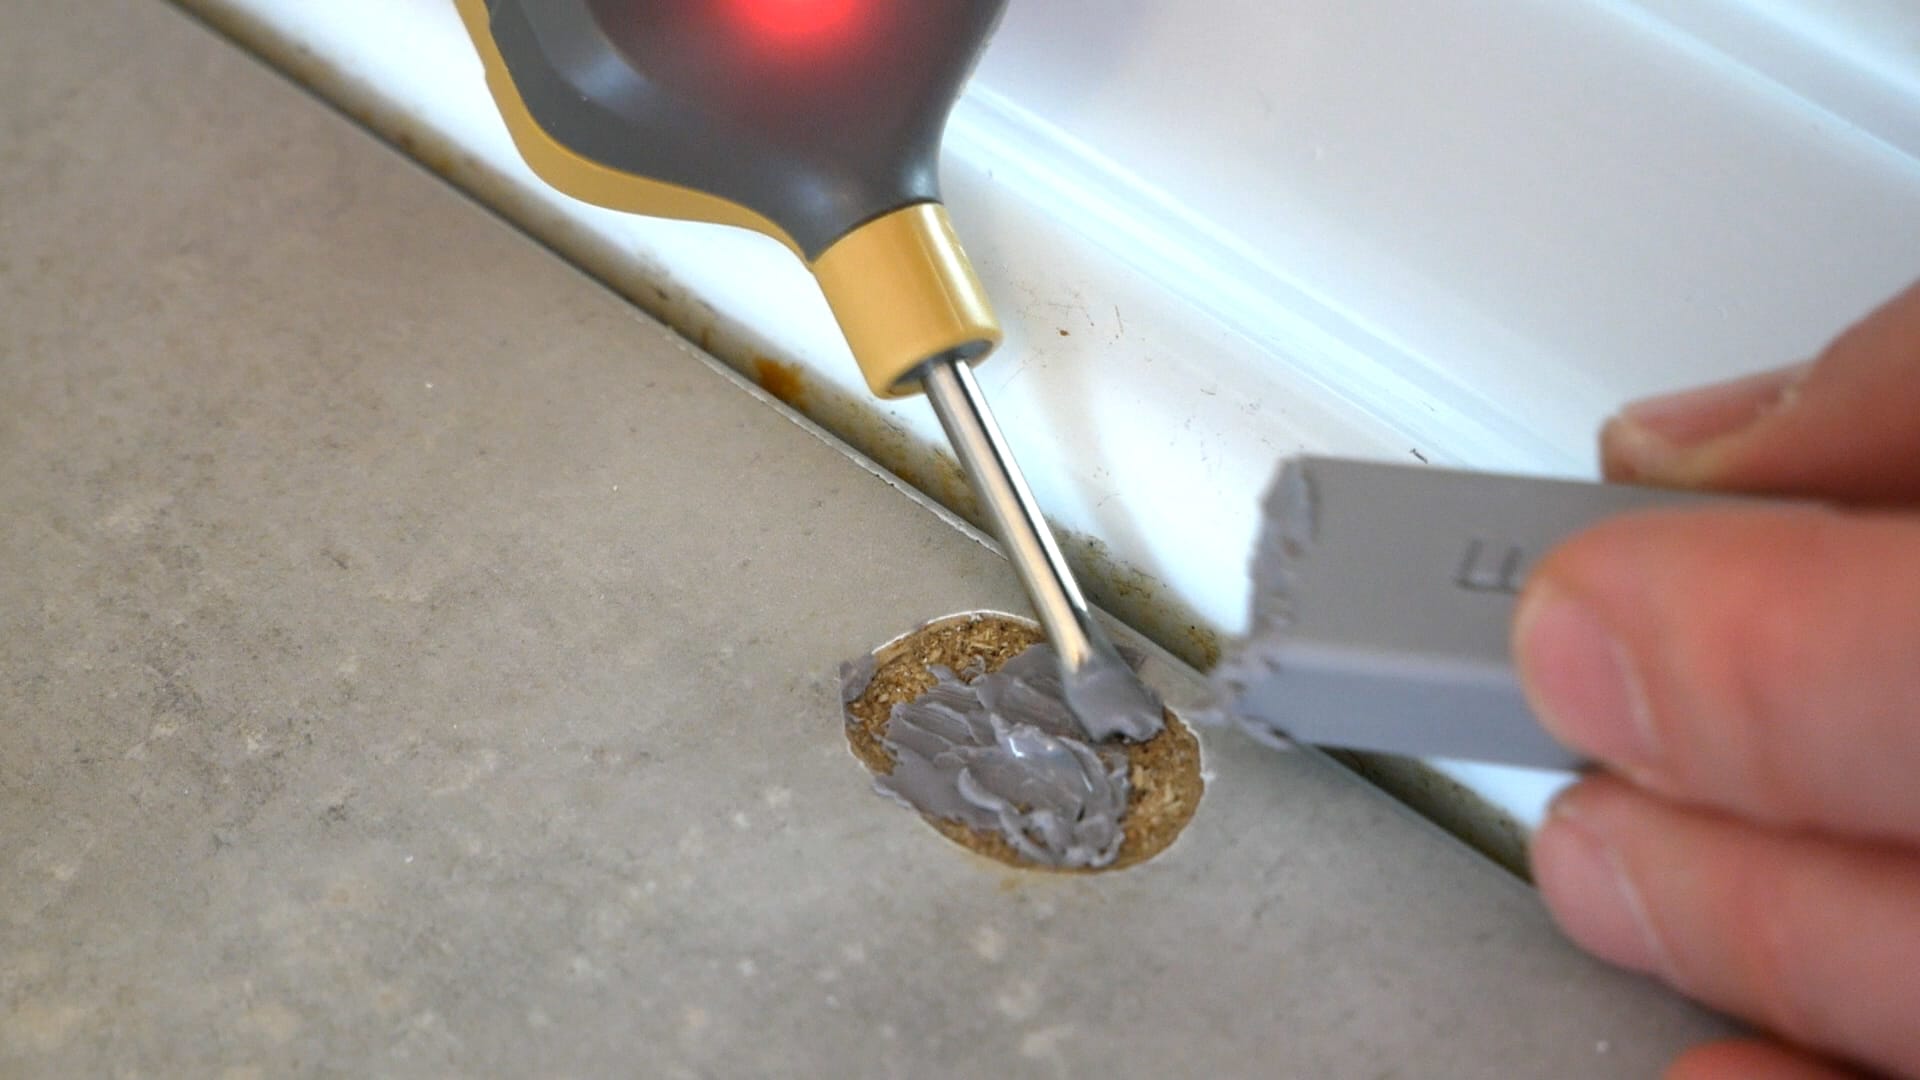
🎨 Step 4: Melting the Wax Repair Kit
I ordered a countertop repair wax kit from Amazon. It came with multiple colored wax pieces that you can melt and blend to match your countertop.
Here’s what I did:
- Chose a few colors that closely matched my countertop
- Melted them with a heated spatula (included in the kit)
- Mixed them together until I got the right tone
- Filled the cleaned-out area with the melted wax
🧽 Step 5: Blending and Finishing
After the wax cooled and hardened:
- I lightly sanded the area to level it with the rest of the countertop
- I repeated the melt-and-fill process two more times to improve the color match
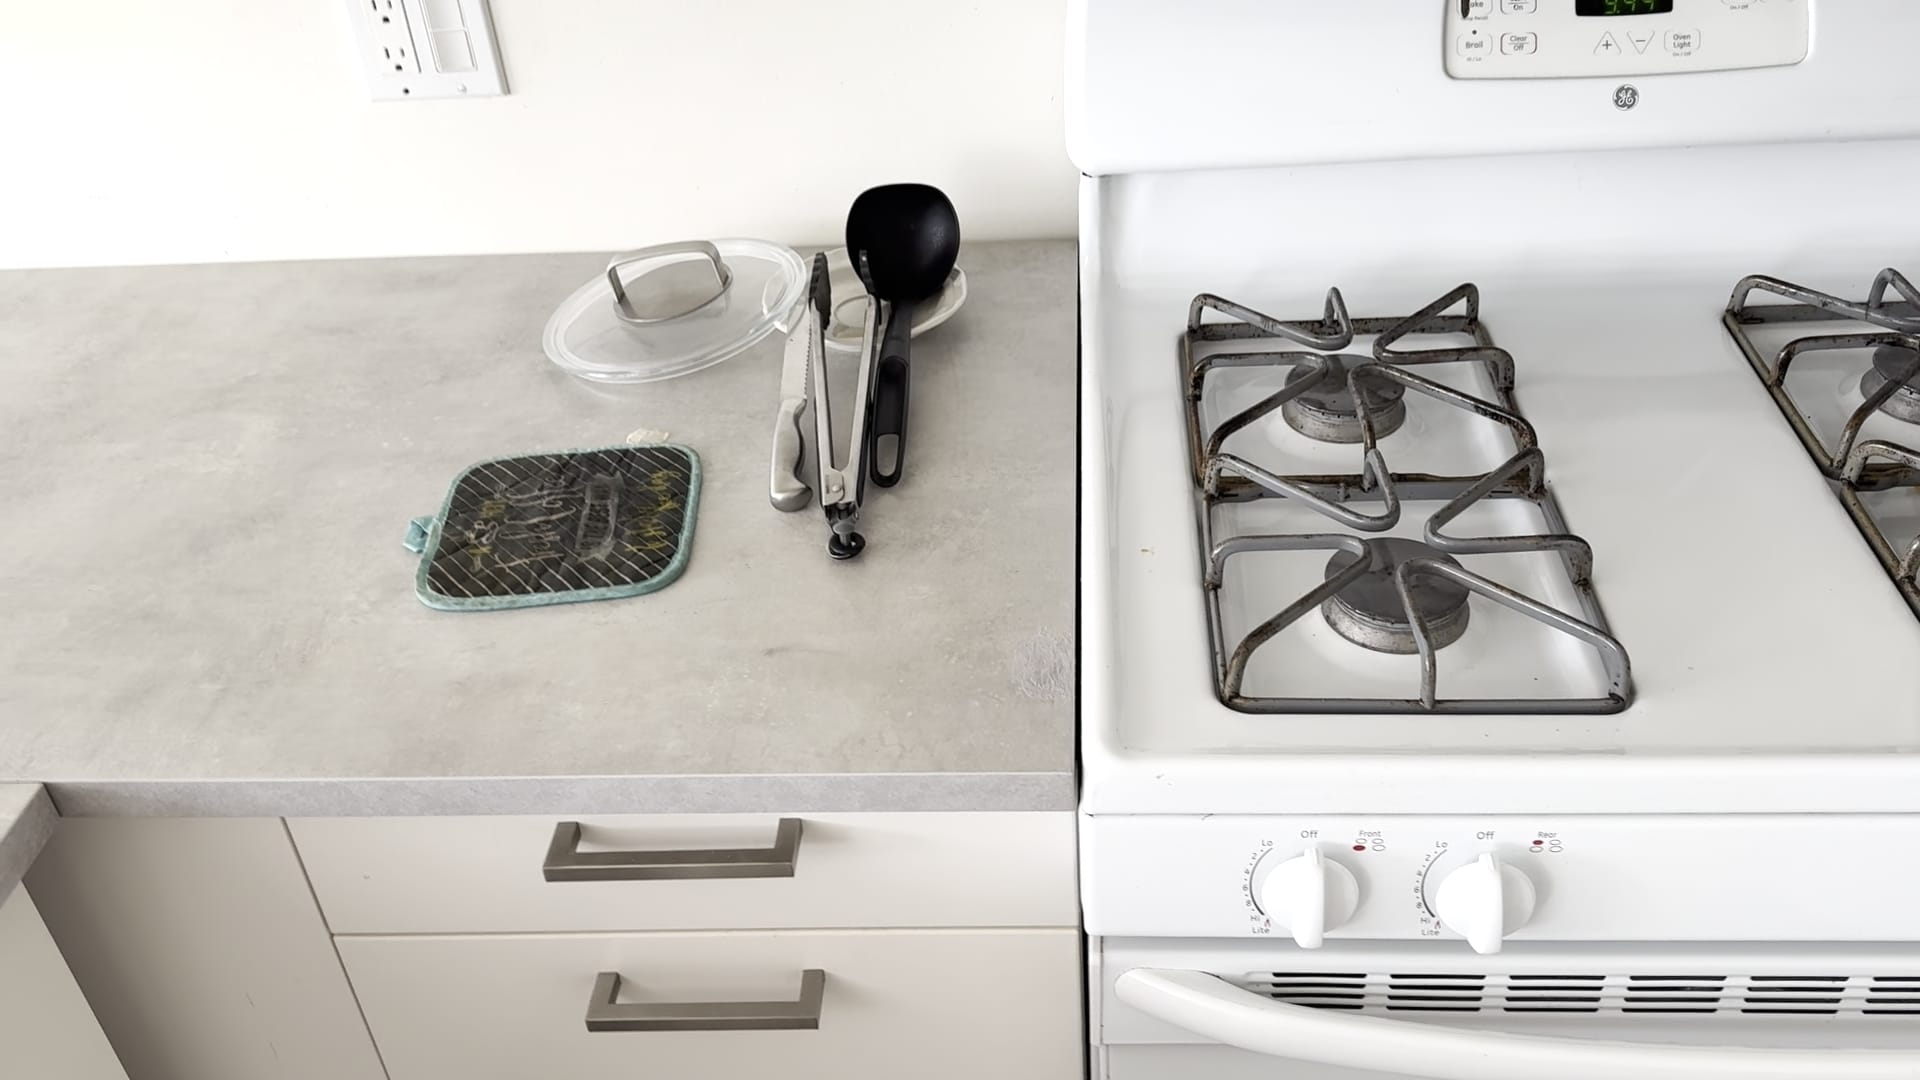
✅ Final Result
The final result was surprisingly good. The burn mark is barely visible unless you know where to look — and the countertop feels smooth and solid again.
This quick repair saved me hundreds of dollars and avoided a full replacement.
If you're dealing with a similar problem, I highly recommend giving this method a try.
🧰 Tools & Materials I Used
And if you found this helpful, feel free to share it with someone dealing with a countertop disaster of their own.
Below is step by step video of all process of repairing my countertop.