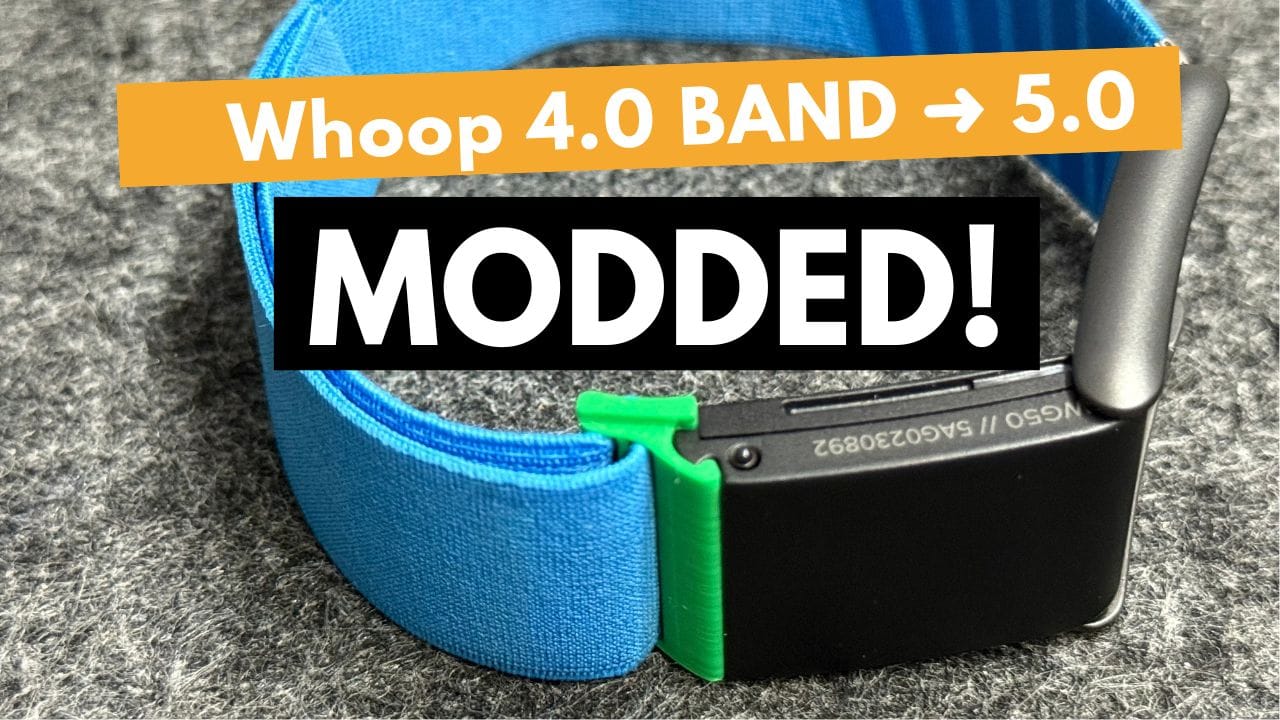
How I Made My Whoop 4.0 Band Work with the New Whoop 5.0
I modified my Whoop 4.0 band to work with the new Whoop 5.0 using a simple sanding technique and a custom 3D-printed clip. In this post, I walk through the full DIY process — from adjusting the strap to printing the final part. Includes video, tips, and ordering info.

When I upgraded to the Whoop 5.0, I was excited for the new features — but disappointed to find that my old Whoop 4.0 bands no longer fit. The clip system had changed, and the new device uses slightly narrower bands and a redesigned clasp. Instead of throwing away my perfectly good 4.0 bands, I decided to fix the problem myself.
Here’s how I made my Whoop 4.0 bands fully compatible with the Whoop 5.0 — using a little sanding and a custom 3D-printed clip.
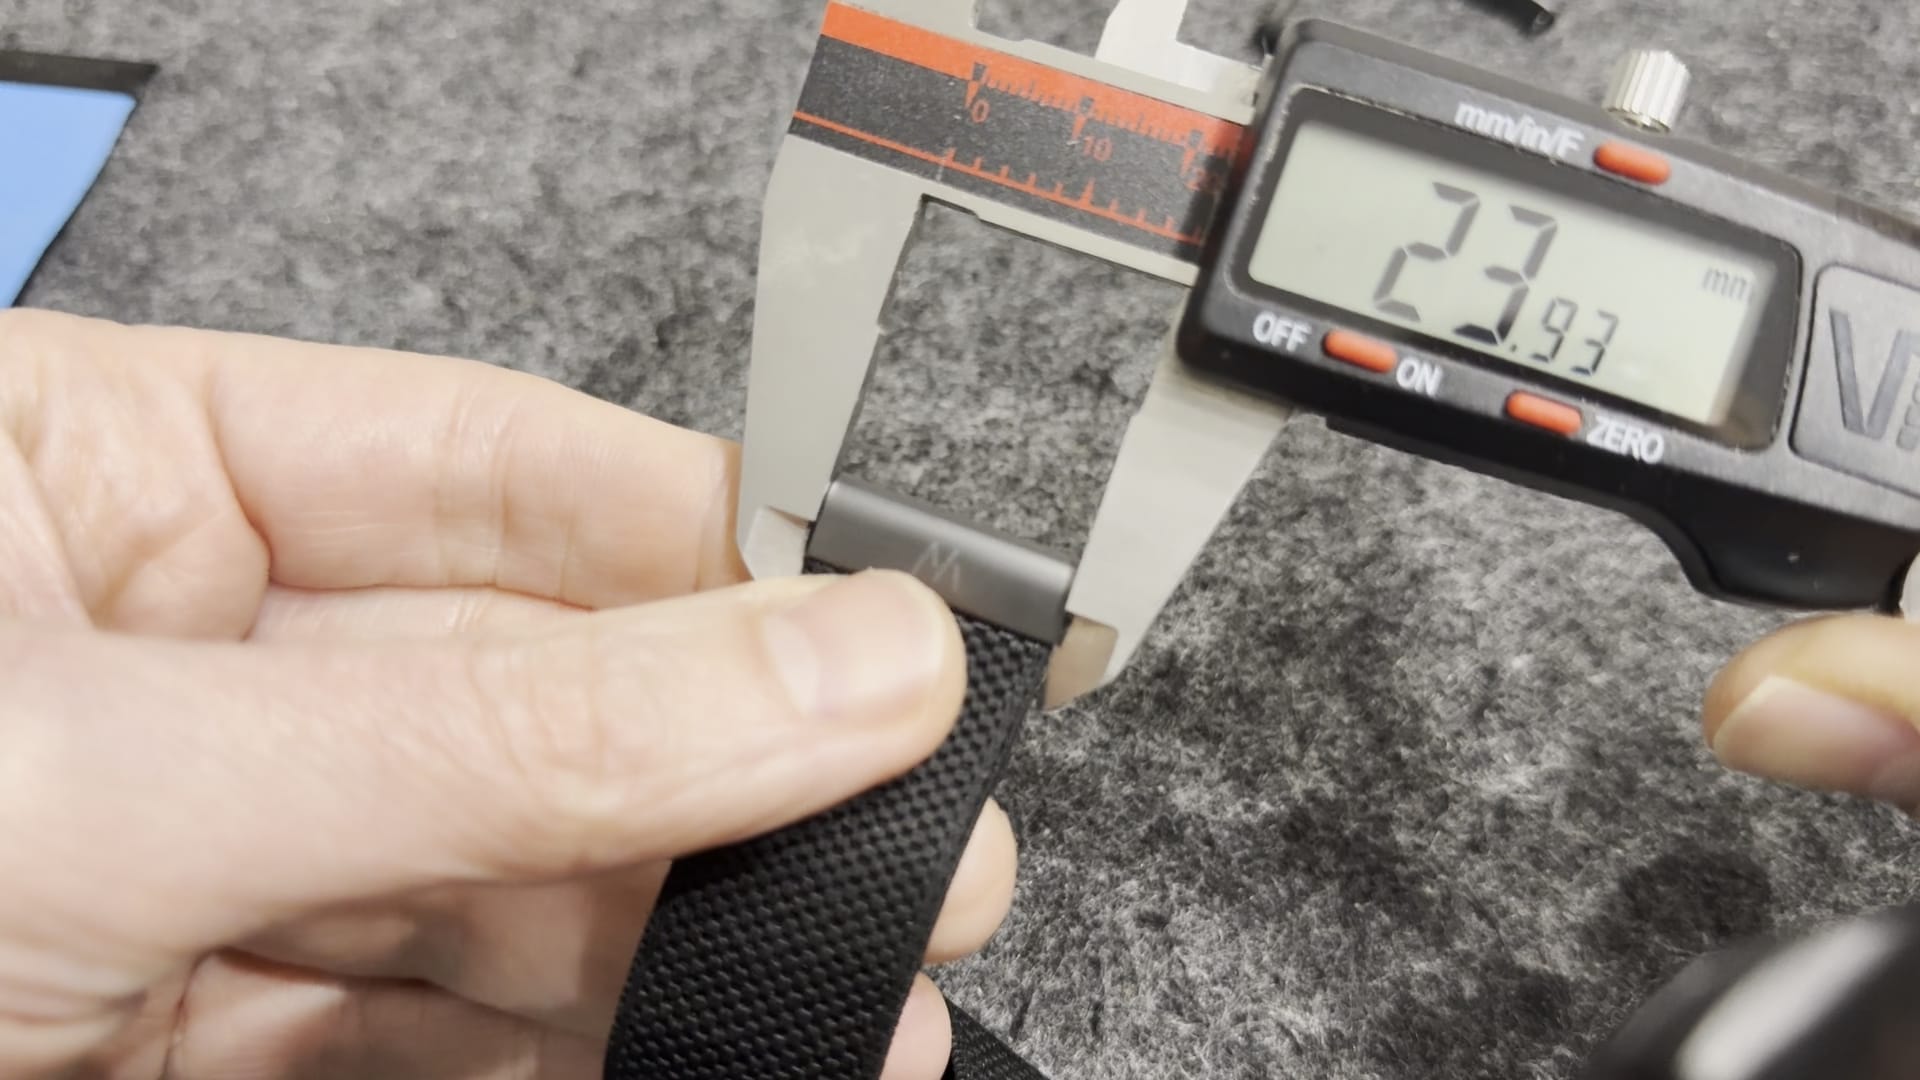
🆚 Step 1: Comparing the Bands
- Whoop 4.0 band width: 25 mm
- Whoop 5.0 band width: 24 mm
At first glance, the bands and clips look similar, but the new 5.0 system won’t accept the 4.0 band without modification. The clasp on the old band is just a bit too wide to fit.
🪚 Step 2: Modifying the Band
To make it work, I sanded down each side of the 4.0 clasp by 0.5 mm — for a total reduction of 1 mm. This made the end of the strap fit snugly into the new clip system.
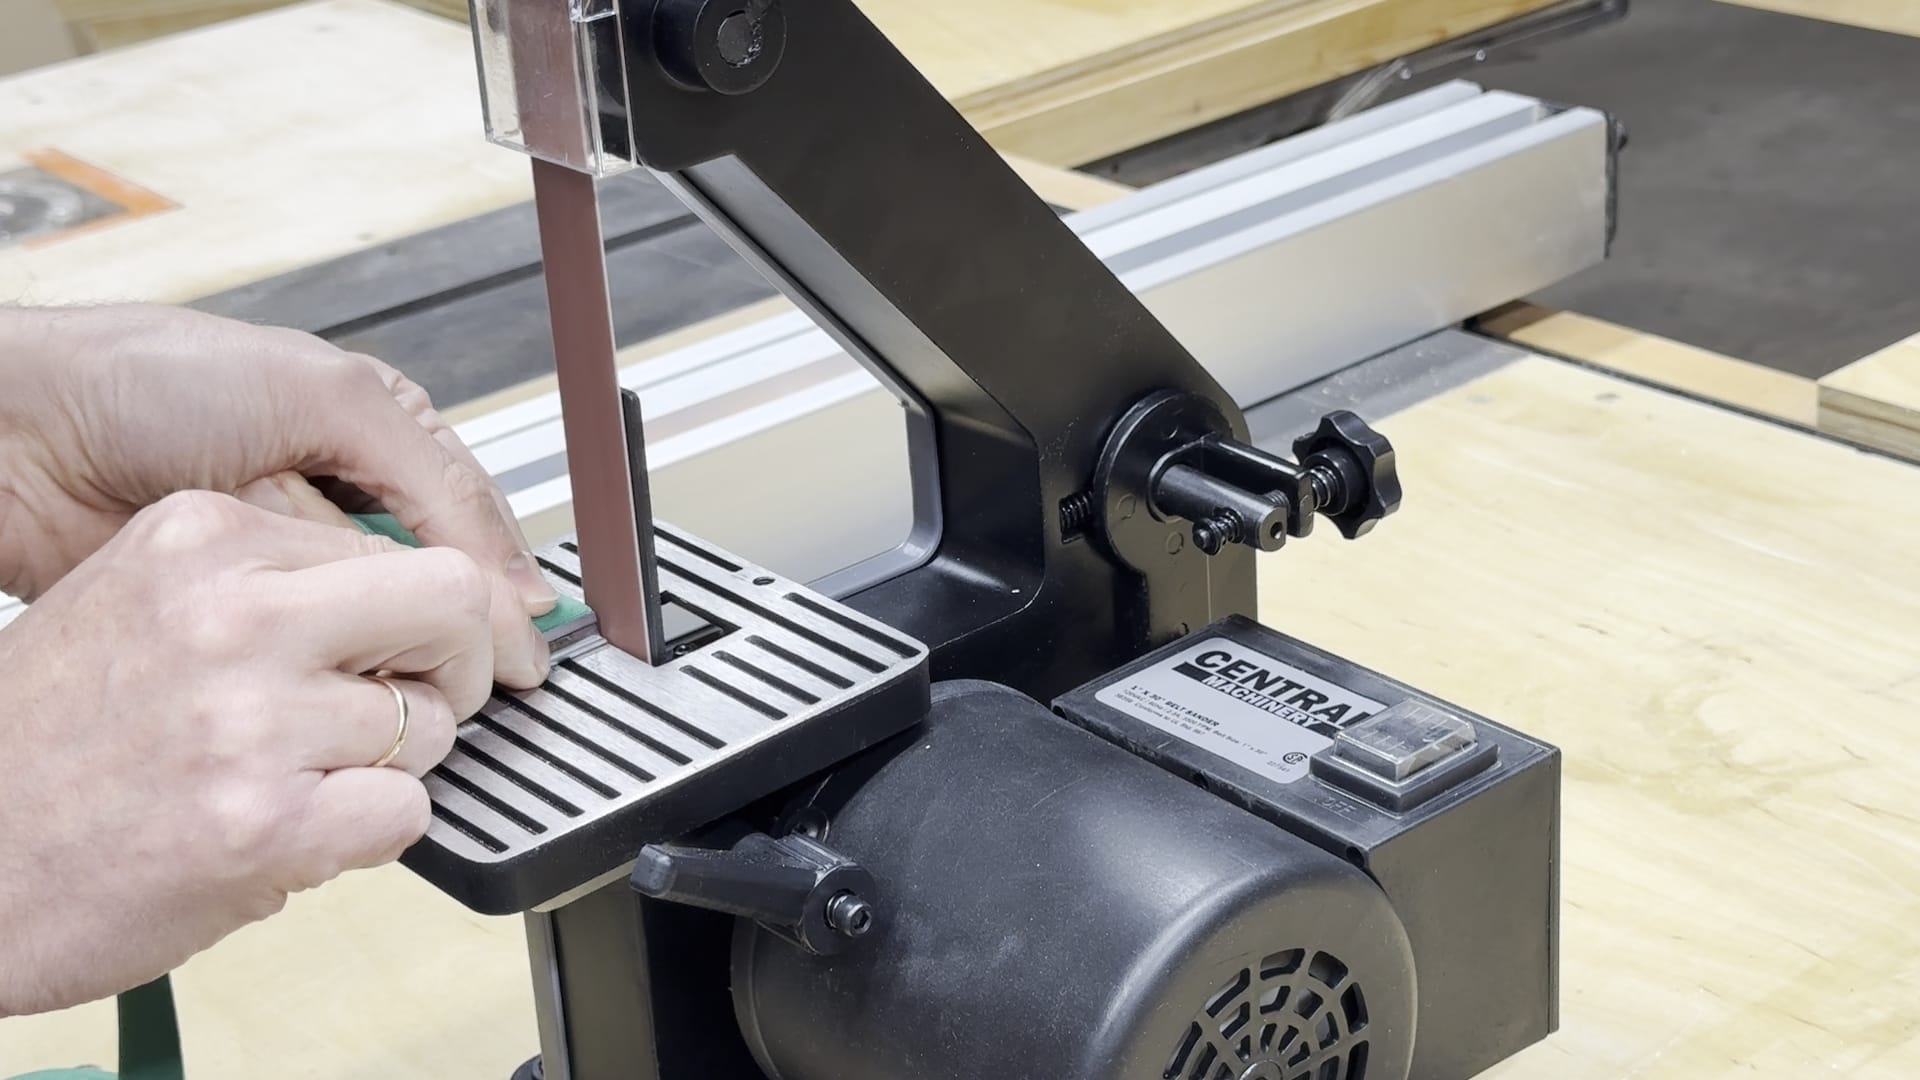
I used a belt sander, but if you don’t have one, a file or even sandpaper will do the trick. It just takes a bit more time and patience.
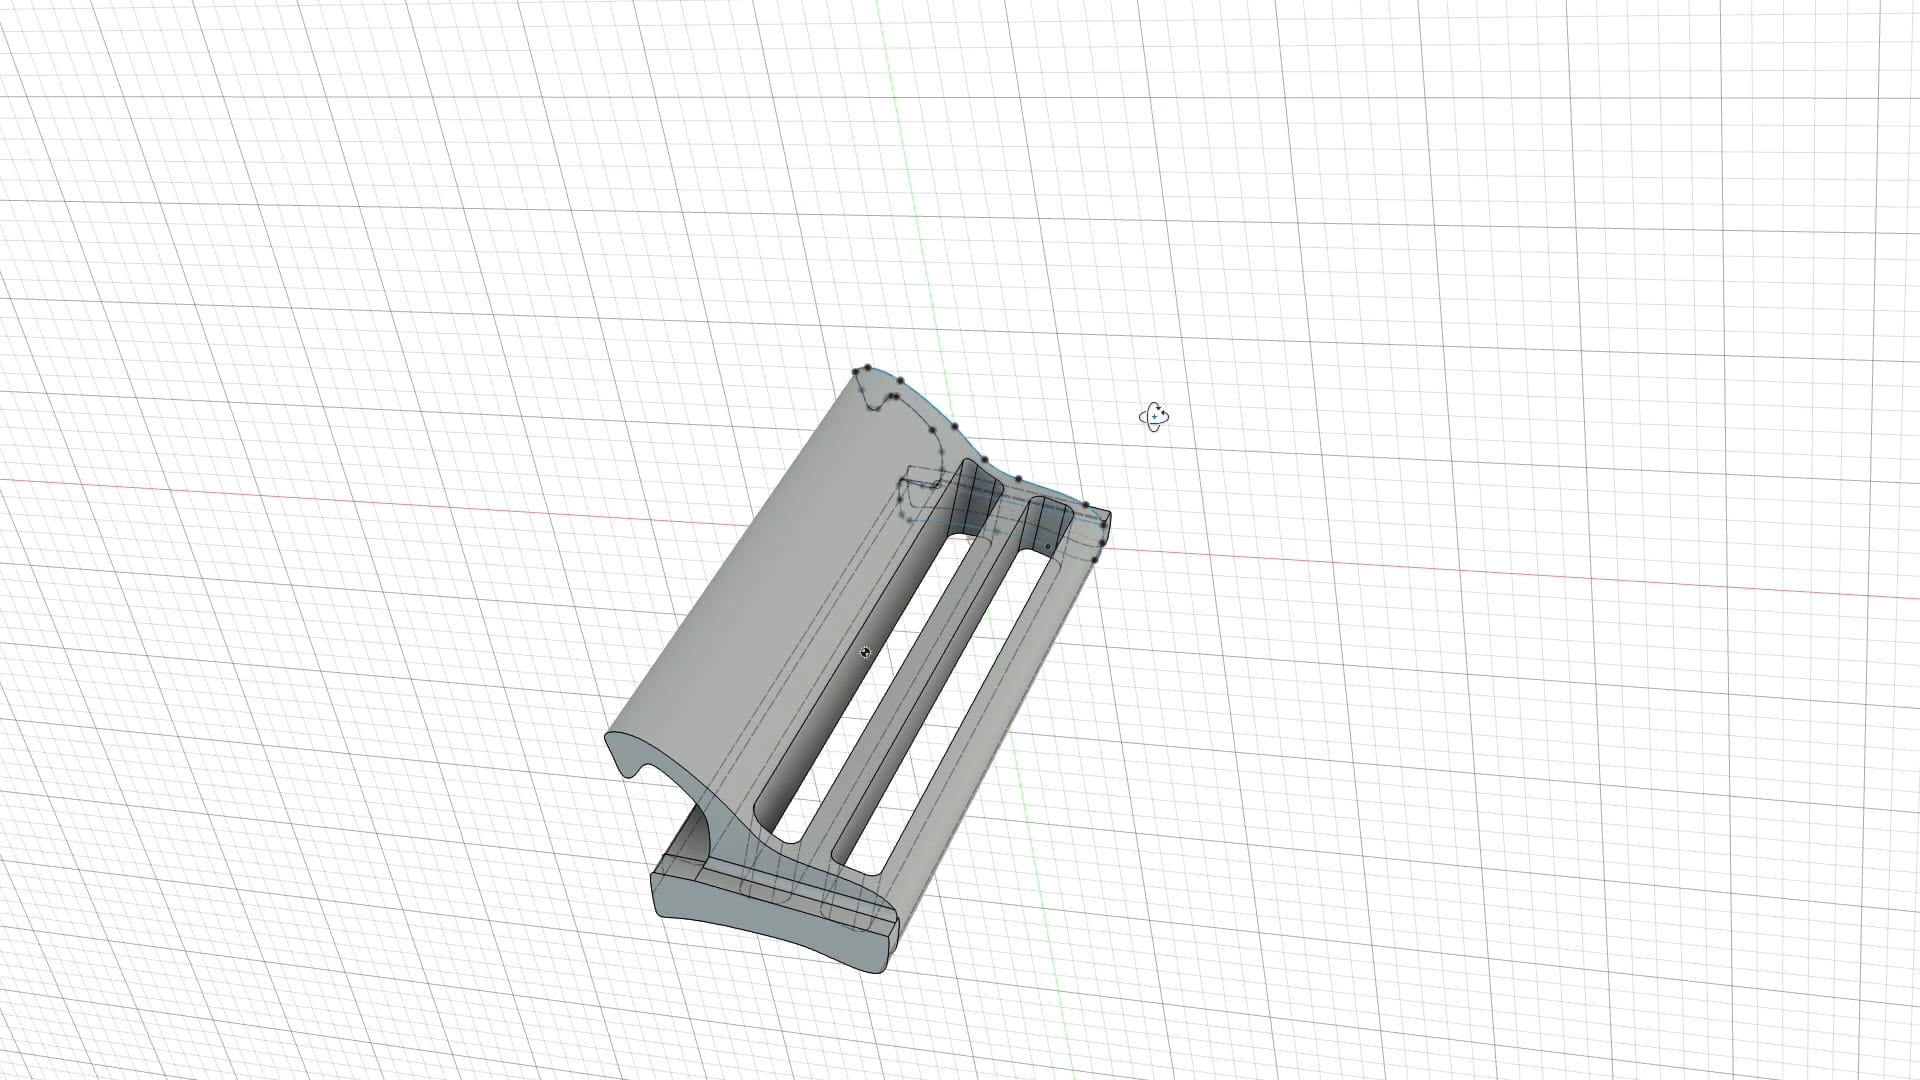
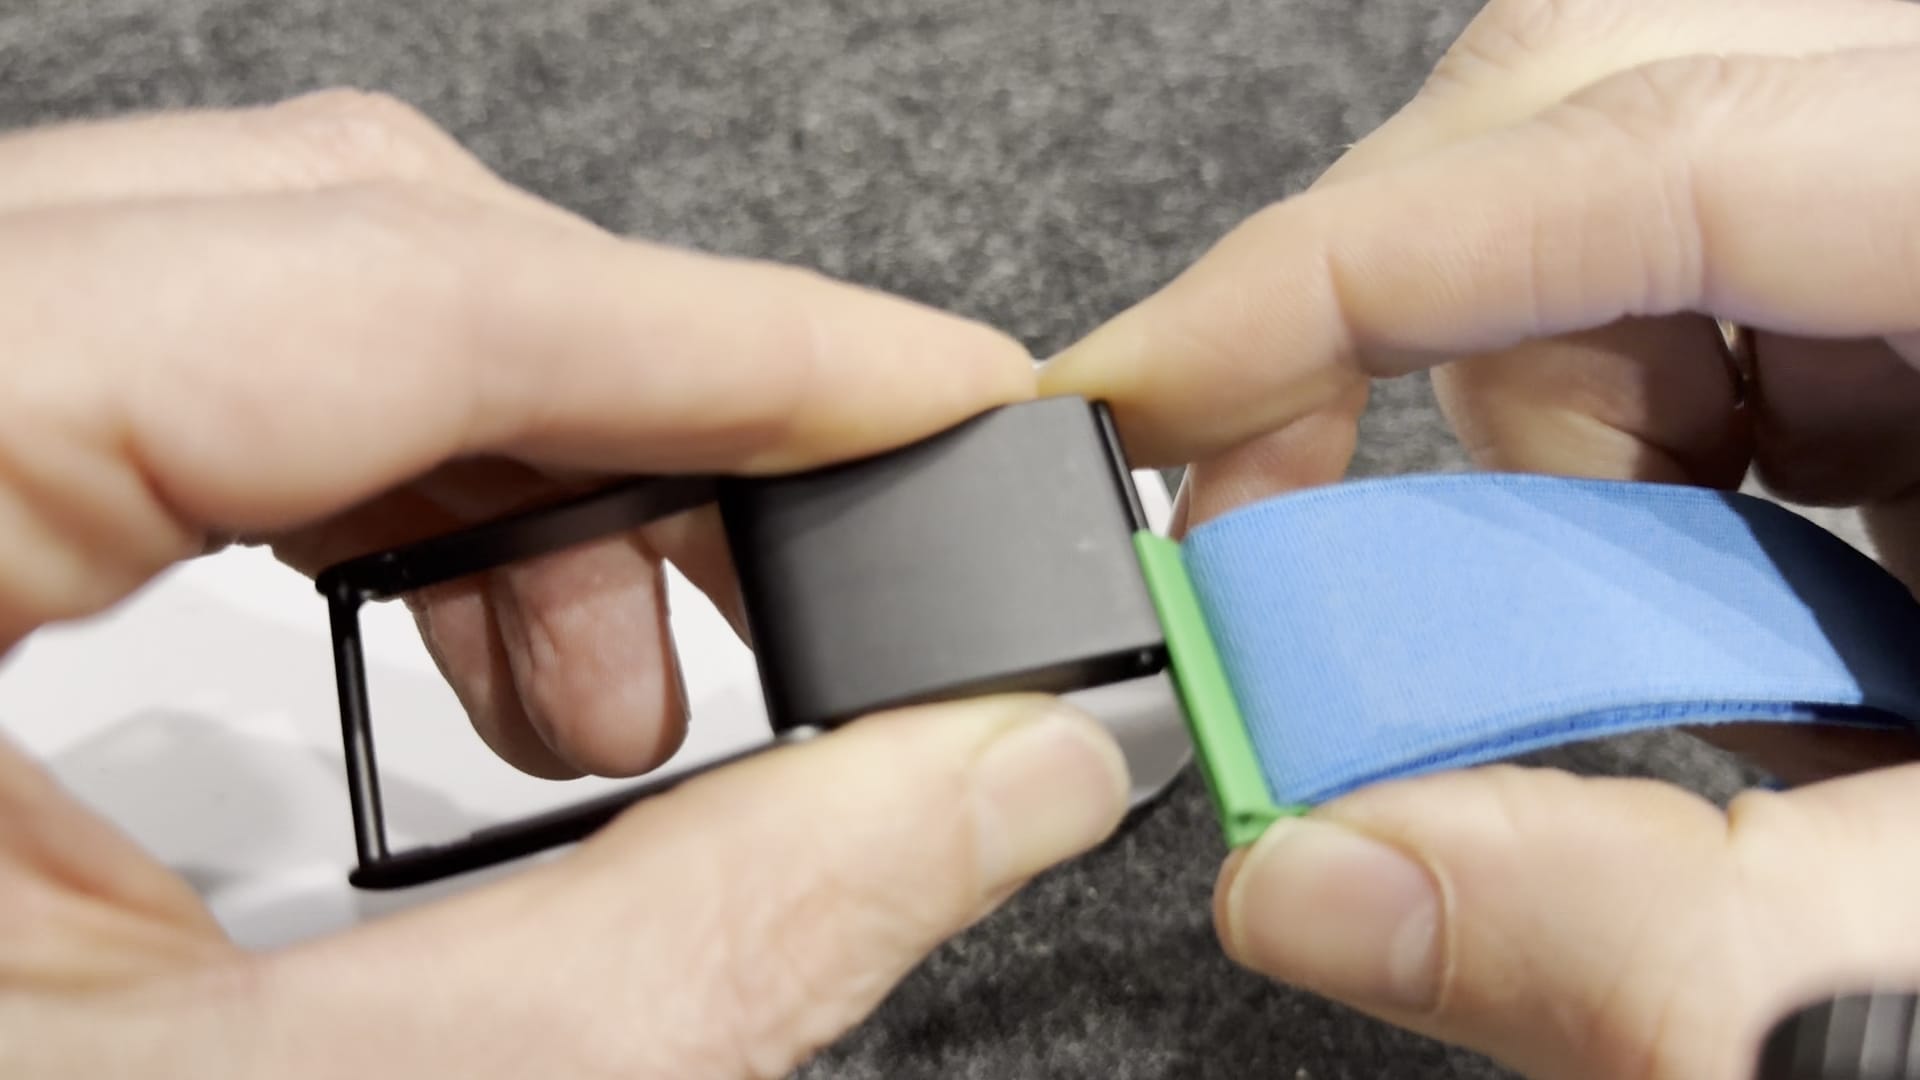
🧱 Step 3: Designing a Custom Clip
To hold the modified band in place, I designed a custom 3D-printed clip:
- Based on the shape of the Whoop 5.0 clip
- Strap holes sized to fit the original 4.0 band width
- Created the side profile using polymer clay and transferred the shape into my 3D modeling software
This gave me a reliable, secure clip that works with the 4.0 strap — without forcing or bunching the material.
🖨️ Step 4: 3D Printing the Clip
I printed the clip using PLA filament. Each print took about 15 minutes, and I made a few test versions before getting the fit just right. The final clip locks into the 5.0 device firmly and lets the 4.0 band slide through naturally.
✅ Step 5: Final Fitment
With the strap trimmed and the custom clip in place, the result is perfect:
My old Whoop 4.0 bands are now fully compatible with the Whoop 5.0 device.
🛒 Want One?
If you'd like to order the custom 3D-printed clip, I’ve made it available:
👉 [https://shop.mrstukov.com/products/whoop-4-0-to-5-0-replacement-clip]
You’ll still need to sand your strap’s clasp by about 0.5 mm on each side, but everything else is ready to go.
💬 Questions?
Check out my full YouTube video showing every step.
Feel free to comment if you need tips, or message me if you'd like the STL file to print your own!
🛠 Recommended Tools
If you're interested in trying this project yourself, here are the tools I used or recommend:
🖨 3D Printer
I used a reliable desktop 3D printer for this project. Great for beginners and advanced users alike.
👉 Buy on Amazon
🎞 PLA Filament
I printed the clip using PLA filament. Choose a strong, high-quality brand for the best results.
👉 Buy PLA Filament on Amazon
As an Amazon Associate, I may earn from qualifying purchases at no extra cost to you.