How to Replace Rear Brake Pads and Rotors on a 2018 Toyota RAV4 (XLE) – DIY Guide

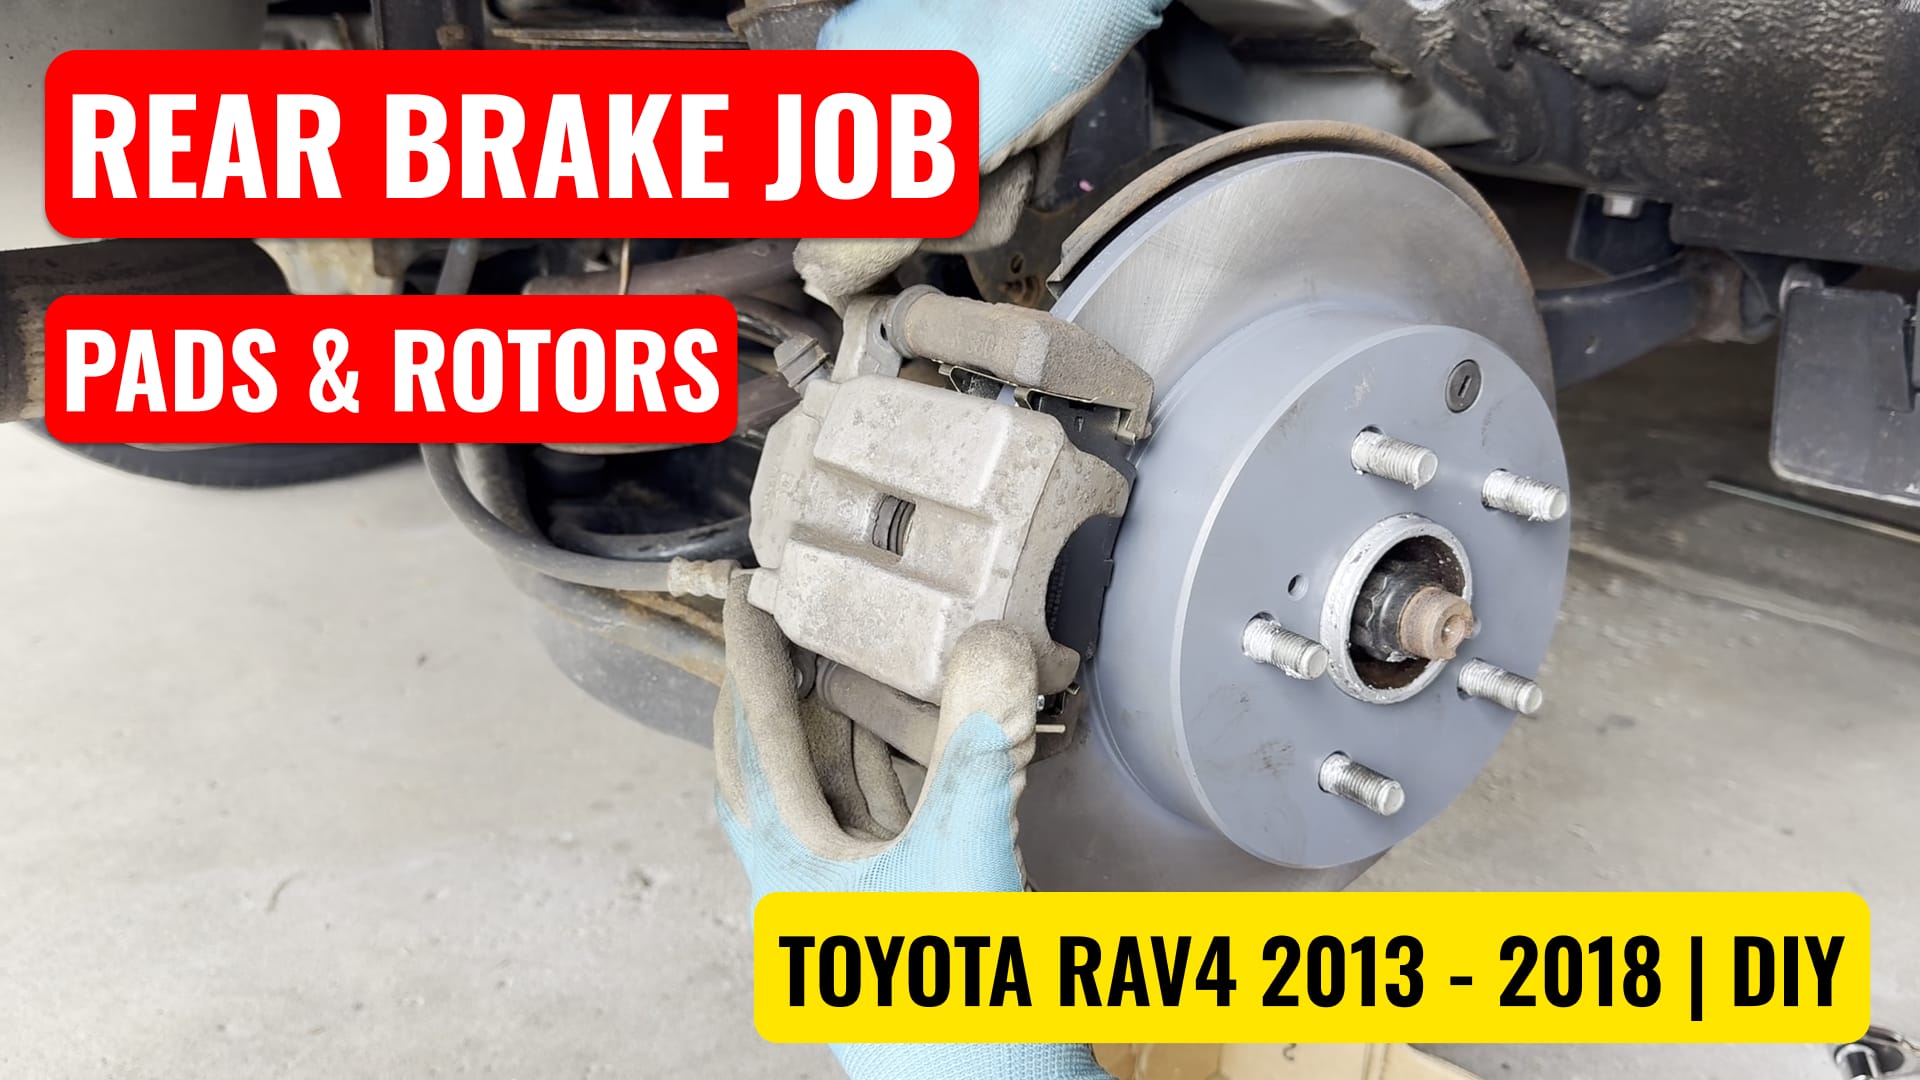
Changing your own brake pads and rotors can save money and give you confidence in your vehicle’s condition. In this guide, I’ll walk you step-by-step through replacing the rear brake pads and rotors on a 2018 Toyota RAV4 XLE. This method also applies to most Toyota RAV4 models from 2013 to 2018 with a manual parking brake.
🛠️ Tools & Supplies Needed
- 14mm socket or wrench
- 17mm socket (for bracket bolts)
- 21mm socket (for lug nuts)
- Torque wrench
- Jack + jack stands
- WD-40
- Flathead screwdriver
- Brake cleaner (e.g., Brakleen)
- Anti-seize lubricant
- Brake grease (e.g., Sil-Glyde)
- C-clamp or woodworking clamp
- Metal brush
- Optional: rubber mallet or M8 bolts (for rotor removal)
🔧 Step-by-Step Instructions
1. Safety First
- Make sure the car is parked on level ground.
- Use 2x4 blocks behind the front wheels to prevent rolling.
- Ensure the manual parking brake is off.
2. Loosen and Remove the Wheel
- Slightly loosen the lug nuts (21mm) before jacking the car.
- Jack up one side and use a jack stand for safety.
- Remove the wheel completely.
If the wheel is stuck, try the following:
- Spray WD-40 on the lug area and wait a few minutes.
- Hit the tire with your leg to break the rust bond.
I had to turn with my back to the wheel and kick using body momentum — very effective.
3. Remove the Caliper and Pads
- Use a 14mm socket to remove the caliper bolts.
- Carefully slide the caliper off and hang it with a bungee cord or wire — don’t let it hang by the hose.
- Remove the old brake pads. Use a flathead screwdriver if needed.
4. Remove Caliper Bracket and Rotor
- Remove the 17mm bolts securing the caliper bracket.
- If the rotor is stuck, tap it with a rubber mallet or screw in two M8 bolts to push it off.
- Clean the new rotor with brake cleaner to remove any protective oil.
- Apply anti-seize to the lug bolts.
- Transfer the rubber plug from the old rotor to the new one — this gives access to adjust the parking brake if needed.
5. Clean and Prep Bracket
- Remove old hardware clips from the bracket.
- Clean everything with a metal brush.
- Pull out the caliper slide pins, clean them, and apply brake grease — avoid greasing the pin tip.
- Install new metal hardware that comes with your brake pad kit.
6. Install Rotor and Bracket
- Slide the new rotor into place.
- Reinstall the bracket using the 17mm bolts and torque to 79 ft-lb.
7. Install New Pads and Compress Piston
- Apply brake grease to the contact points on the pads.
- One pad will have a wear indicator tab — this squeals when the pad wears down.
- Use a C-clamp or woodworking clamp to gently push the caliper piston back in.
8. Reinstall Caliper and Wheel
- Slide the caliper back over the new pads.
- Reinstall the 14mm bolts and torque to 25 ft-lb.
- Clean the inside of the wheel.
- Reinstall the wheel and hand-tighten the lug nuts.
- Lower the vehicle and torque the lug nuts to 76 ft-lb in a star pattern.
9. Final Checks
- Pump the brake pedal a few times until it feels firm.
- Double-check that all bolts are tight and torqued properly.
- That’s it — you’re done!
✅ Compatible Models
This tutorial is compatible with:
- Toyota RAV4 (2013–2018) – 4th generation
- Both FWD and AWD
- Models with manual parking brake (non-electronic)
🔎 Parts Used in This Video
- Rear Brake Pads: Bosch QuietCast BC1212
- Rear Brake Rotors: Carquest Premium Painted Rotor YH200504P
These aftermarket parts are direct-fit replacements and work great for DIY rear brake jobs on the Toyota RAV4 (2013–2018) with a manual parking brake.
🏷️ OEM Toyota Part Numbers (for reference)
- OEM Rear Brake Pads: Toyota 04466-0R030
- OEM Rear Brake Rotors: Toyota 42431-42060
(Always verify with your VIN for exact match.)
🎥 Watch the Full Video
If you prefer watching this as a video tutorial, be sure to check it out on my YouTube channel!